


No other sander beats a benchtop belt disc sander for rapid material removal, fine shaping and finishing.
As the name suggests, a benchtop belt sander is usually fixed to a bench. The belt can run horizontally, and it can also be tilted at any angle up to 90 degrees on many models. In addition to sanding flat surfaces, they are often very useful for shaping.
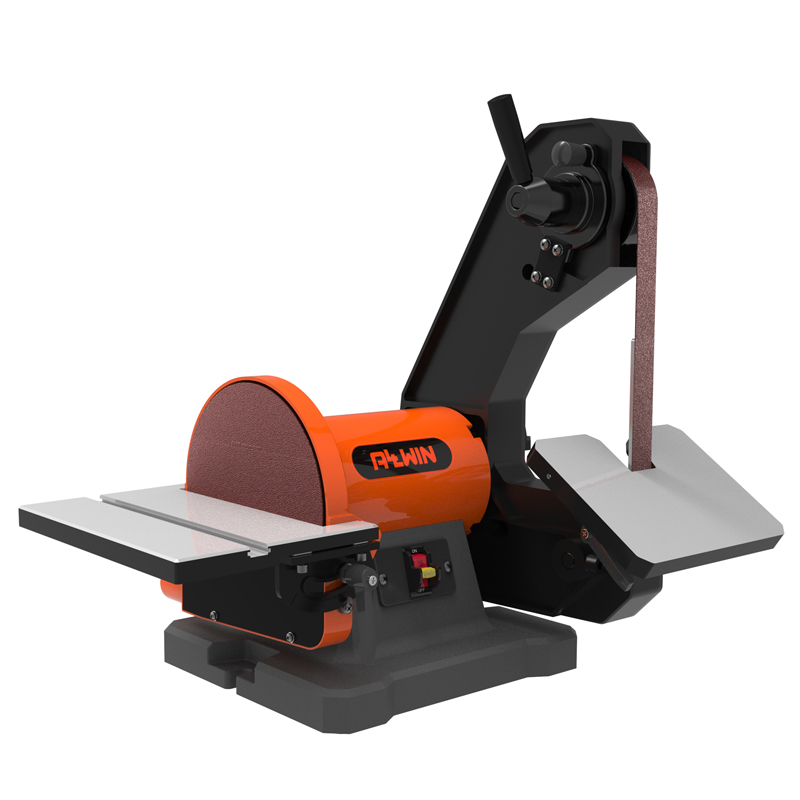
Many models of Allwin Power Tools also incorporate a disc sander on the side of the machine. This comes with a sanding table that can often be tilted up to 45 degrees and a miter guide. Combining these two features allows for compound angles to be set, thus increasing the range of belt sander uses. These are generally woodworking tools, though changing the abrasive allows some to sand metals.
Stationary benchtop belt sanders often require some assembly, and it’s often easiest to assemble where the tool will be stationed.
STEP 1: Assemble and set the belt sander in place.
Benchtop belt sanders may need some minor assembly. In addition to fitting the belt, the table and miter guide often need to be bolted in place.
STEP 2: Use the correct workpiece presentation.
Always work against the direction of belt travel. This provides maximum control, and prevents the belt snatching the workpiece out of the hands. When using the sanding disk, rest the piece on the table, on the downward (clockwise) side of rotation. This prevents the danger of it being thrown into the air.
Don’t try to remove too much material in one pass. Using multiple passes avoids overheating and burning the work.
STEP 3: Check progress frequently.
As with any sanding task, check the work frequently. It’s always possible to sand off a little more. It isn’t possible to glue the sawdust back if too much is removed.
Please send message to us from the page of “contact us” or bottom of product page if you are interested in belt disc sander of Allwin Power Tools.
Post time: Dec-18-2023