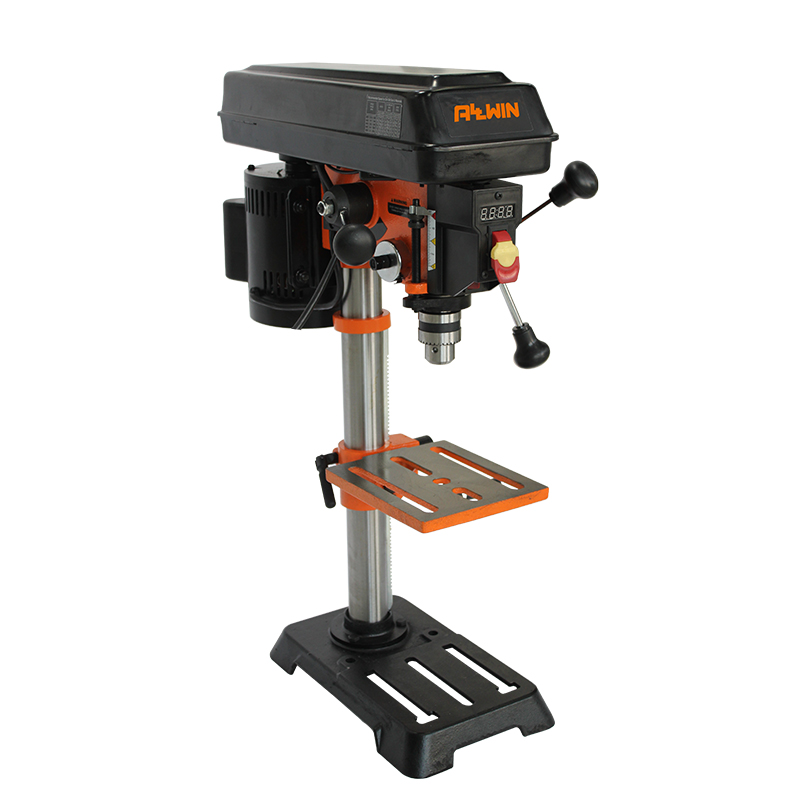
A drill press is a versatile tool that can help you with tasks like drilling holes in wood and fabricating intricate metal parts. When choosing your drill press, you will want to prioritize one with adjustable speeds and depth settings. This versatility will increase the number of projects you can complete with a single drill press. The type of drill bits you need will depend on the material you’re drilling in.
1. Setting up the Drill Press
(1) Carefully unpack the items that came with your drill press and make sure that everything is accounted for. The manual should provide instructions on assembling the press and accessories.
(2) You should inspect each component of the press for any signs of damage or defects before use. Make sure all screws are snugly in place.
(3) Follow the manual’s instructions for assembling the components of your drill press. You may need a wrench or other tools to complete the assembly.
(4) Once fully assembled, plug in your drill press and connect it to a power source before using it. Confirm that your circuit breaker is functional before plugging in your machine.
2. Using the Drill Press
Once you’ve successfully set up your drill press and it’s connected to a power source, it’s time to use it.
(1) Securely fasten the workpiece onto your drill press to ensure it doesn’t move during operation.
(2) Depending on what type of material you’re drilling into, adjust the speed setting on your drill press accordingly. Soft materials require slower speeds, while hard materials require faster speeds for optimal performance from your bit.
(3) Ensure your bit is suitable for the material type and size before starting. Insert the correct bit into your chuck according to the manufacturer’s guidelines.
(4) Use the appropriate key to confirm tightness after every insert before continuing with drilling tasks.
(5) Once inserted, adjust the depth stop lever on the drill press so the bit is above the workpiece surface. You can confirm that the bit is aligned by looking at it from the side.
(6) Slowly increase the speed by gently squeezing the trigger start switch until the required speed is achieved.
(7) Begin your drilling task by applying steady pressure over the desired area.
(8) When you are done, turn off the switch by releasing the pressure from the trigger start switch. Then, carefully remove the bit from the holder by turning the appropriate key.
(9) Put all of your tools away, and make sure to store your drill press in a safe space. You can now admire your new creation.
3. Clean and Care For Your Drill Press
Immediately after use, remove all debris from the inside and outside surfaces of the drill press. You should perform regular maintenance on your drill press, including checking the alignment, maintaining lubrication, and double-checking the calibration. Regular cleaning and maintenance of your drill press will ensure it runs smoothly.
Post time: Mar-06-2024

