


Band saws are versatile. With the correct blade, a band saw can cut wood or metal, in either curves or straight lines. Blades come in a variety of widths and tooth counts. Narrower blades are good for tighter curves, while wider blades are better at straight cuts. More teeth per inch provide a smoother cut, while fewer teeth per inch give a faster but coarser cut.
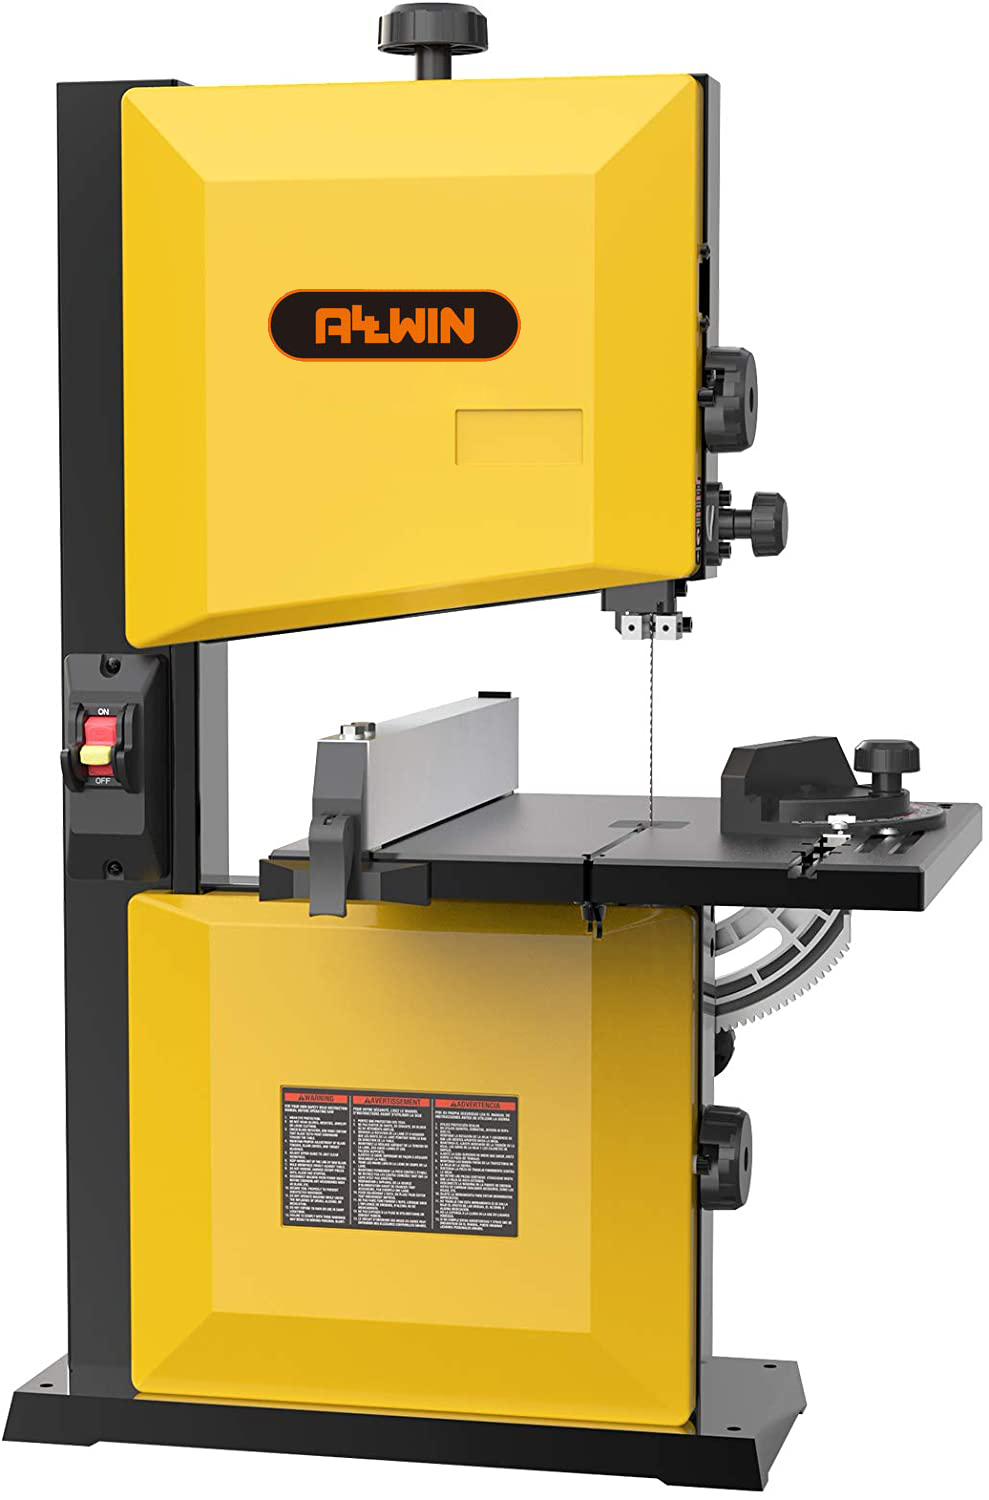
The size of a band saw is given in inches, the size refers to the distance between the blade and the saw’s throat, or the column that supports the upper wheel. ALLWIN Band saws range in size from 8-inch benchtop machines to 15-inch freestanding ones for professional shops.
How to Set Up a Band Saw
For a band saw to cut its best, the blade must be installed correctly as per steps as below.
1. Unplug the saw and open its cabinet.
2. Release the blade tensioner, loop the blade onto the bottom wheel and then roll it onto the top, making sure the teeth face down toward the top of the table.
3. Tighten the tensioner just enough to take the slack out of the blade.
4. Rotate the top wheel by hand and adjust the tracking knob until the blade tracks about in the middle of the wheels.
5. Follow the manufacturer’s directions for correctly tensioning the blade. How much tension is applied will depend on the width of the blade.
To track true and keep the blades on the wheels, band saws rely on guides above and below the table. To begin, make sure none of the guides are touching the blade. Then, follow these steps:
1. Working from the top first, loosen the blade’s locking bolt and adjust the thrust bearing to be about the thickness of a business card from touching the blade.
2. Next, move to the guide blocks at the side of the blade.
3. Loosen their locking bolts and adjust them so they’re about the thickness of a piece of paper away from the blade.
4. Align the guide blocks so that they’re even with the gullets between the teeth.
5. Most band saws have a similar set of guides below the table. Adjust them in the same way you did the upper guides.
6. Finally, adjust the table so it’s square to the blade. Loosen the locking knobs below the table. Use a combination square to set the table square, and then tighten the knobs.
Post time: Oct-18-2023