


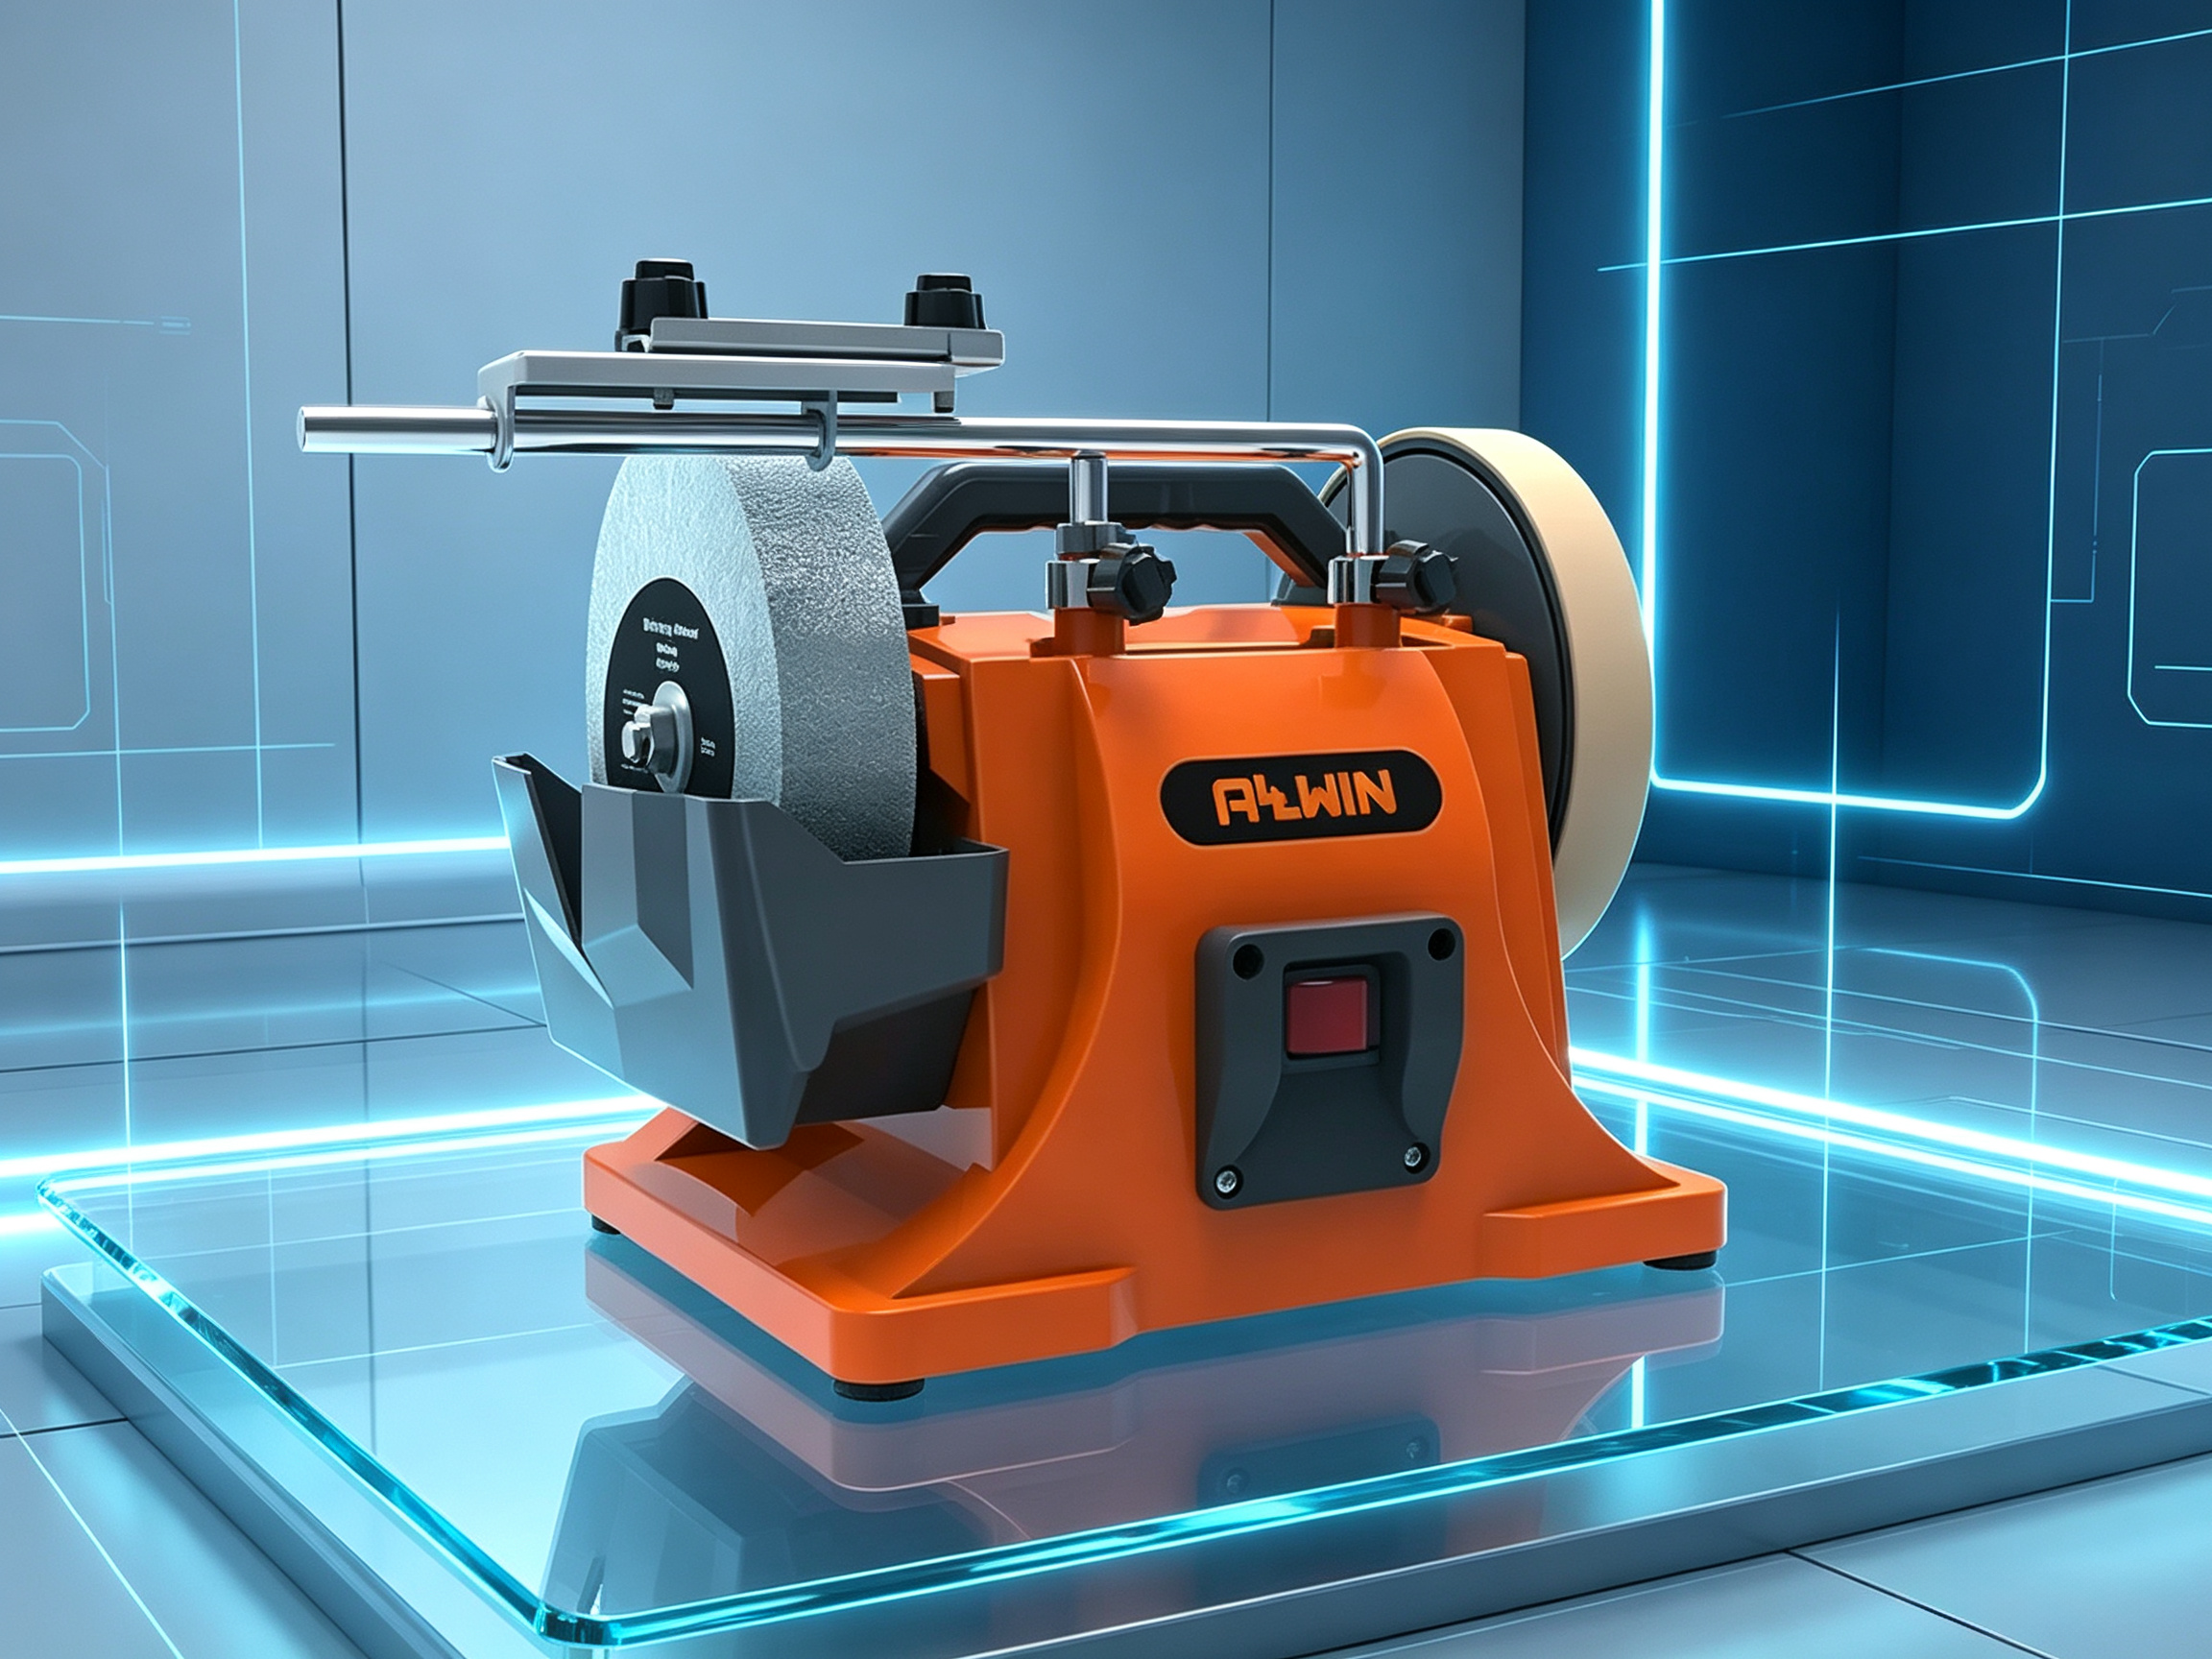
Most polishing defects, equipment failures, and safety hazards are caused by irregular operations and debugging. The desktop knife sharpener has a universal standardized operating system, which is not limited to any kind of tool or any kind of scenario. It masters a full set of universal processes and can be adapted to 99% of conventional grinding operations. It also effectively reduces equipment losses and improves the pass rate of grinding products. This article summarizes the full process specifications of startup inspection, equipment debugging, standard operations, shutdown and completion that are common to the entire system and is suitable for all users.
1. General inspection process before operation
Inspection before the formal polishing operation is a key and common step to avoid faults and defects, and is applicable to every startup operation. First, conduct an appearance and structural inspection to check that the frame, protective cover, and adjustment bracket are not loose, deformed, or damaged. All fixing screws and locking knobs are tightened in place, and there is no looseness or offset. Secondly, check the status of the consumables to confirm that the grinding wheel has no cracks, chips, severe wear, or eccentric shaking. The balance of the grinding wheel is normal to avoid shaking and cracking during high-speed operation.
Subsequently, the circuit and power supply were checked. The power cord was not damaged or leaked, the switch started and stopped sensitively, and the grounding protection was normal, eliminating potential safety hazards in electricity use. Finally, check the working environment. The workbench is flat and stable, the equipment is placed horizontally, there is no debris around it, and the dust collection device is in normal standby mode to ensure the safety and compliance of the working environment.
2. General debugging and calibration specifications for equipment
Equipment debugging does not need to be specific to specific tools. The core is universal calibration logic, which includes three core steps: horizontal calibration, grinding wheel calibration, and limit and angle reference calibration.
The first is the horizontal calibration of the entire machine. By adjusting the foot pads at the bottom of the equipment, ensure that the machine body is completely level. The inclination of the machine body will directly lead to problems such as grinding angle deviation, uneven edge grinding, and excessive wear on one side.
The second step is grinding wheel calibration. New machines, replacement grinding wheels, and long-term shutdowns must be calibrated after restarting. Check the grinding wheel rotation concentricity. If there is eccentricity or shaking, reinstall and correct the balance to ensure that the grinding wheel runs smoothly at high speed without jitter. The last step is benchmark debugging. According to the universal grinding benchmark, the benchmark angle and feed stroke of the bracket are calibrated and adjusted to ensure uniform grinding benchmark and provide a basis for standardized operations.
3. Standardized polishing general operating procedures
Preheating is the first step. Start the machine without load and run it for 1-3 minutes. Observe the equipment speed, abnormal noise, and vibration status, and confirm that the equipment is running smoothly and without abnormalities before proceeding with the operation to avoid direct load operation on the cold machine from damaging the motor and grinding wheel.
When clamping and fixing the workpiece, follow the general principles of stability, centering and no offset. The clamping force should be moderate. Too loose will cause the workpiece to shake and grind misaligned. Too tight will cause the workpiece to deform and be damaged during clamping. After the clamping is completed, check the reference position again to ensure accurate alignment.
Feed grinding follows the general core principles of “light feed, uniform speed grinding, and step-by-step”, and violent feeding and heavy pressure grinding are prohibited. Make light contact in the initial stage, and after confirming that the grinding position and contact status are normal, keep feeding at a constant speed to avoid excessive instantaneous pressure that may cause grinding wheel jams, edge burns, chipping, and equipment overload.
During the grinding process, observe the grinding status in real time, pay attention to sparks, lines, equipment vibration and sound. If any abnormality occurs, immediately withdraw the workpiece and conduct no-load troubleshooting. It is forbidden to continue working with faults. After the grinding is completed, leave a small margin for fine grinding and perform uniform and fine grinding to ensure a smooth and even edge.
4. Shutdown and finishing specifications after operation
After grinding is completed, exit the workpiece first and keep the equipment running without load for 30 seconds to 1 minute to dissipate the residual heat of the equipment and grinding wheel to avoid high temperature residues that accelerate the aging of the accessories. Then turn off the power, and after the equipment has completely stopped, clean the workbench of dust and debris, check the wear status of the grinding wheel, and perform basic cleaning. Finally, reset all adjustment structures and return the equipment to an orderly position to prepare for the next operation.
5. General operational taboos (avoid throughout the process)
It is prohibited to touch the grinding wheel or disassemble the workpiece when the equipment is not completely stopped; it is prohibited to overload and violently grind with heavy pressure; it is prohibited to operate when the equipment is loose and the calibration is not in place; it is prohibited to operate the power switch with wet hands; it is prohibited to remove protective covers, dustproof devices and other safety accessories at will. All taboos are common to all models, which is the core criterion to ensure safety and equipment lifespan.
Post time: Aug-20-2026